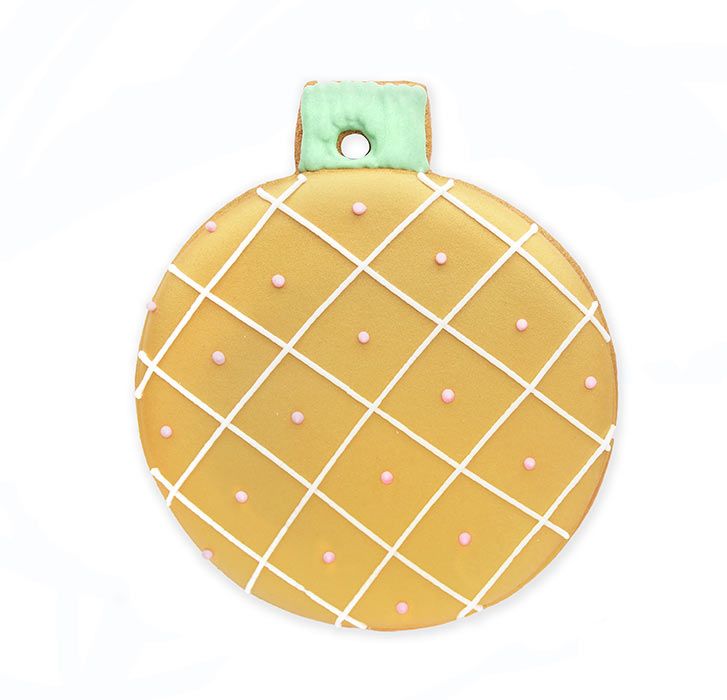
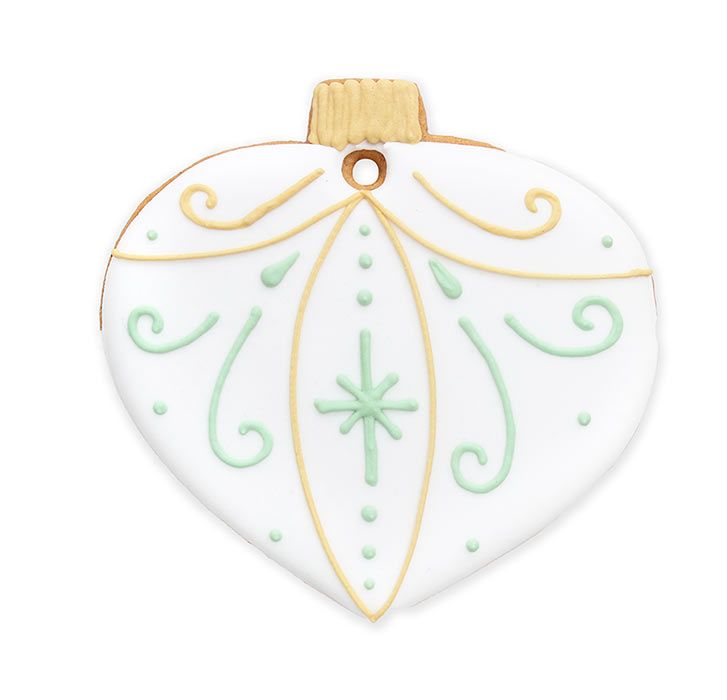
Add some extra special finishing touches to your Christmas tree with these iced bauble biscuits from Biscuiteers. Not only do they look good, but they'll taste amazing too!
To start:
- To start, bake a batch of spiced biscuits using the Biscuiteers all-spice biscuit recipe, which is super easy to make.
- The Christmas decoration biscuits can be simply made using bauble shaped cutters, these can easily be found online. If you’re planning to hang the biscuits on your tree, remember to make holes in the biscuits! This is best done with a cocktail stick.
Equipment top tip: For this tutorial you will need edible metallic paint in gold and white, as well as either an airbrush or a wide brush.
Preparing the icing:
- Once your biscuits have come out of the oven and completely cooled down, the fun can begin. You will need to make a batch of line icing to create the detail and flood icing to create the main colours.
Line Icing Top Tip: Your line icing will need to be the consistency of toothpaste.Flood Icing Top Tip: Your flood icing needs to be a slightly looser constancy, more like a thick custard.
- Mix a light green, white, baby pink, gold, white for your line icing and white and gold for your flood icing. Biscuiteers recommend using professional paste colours. Don’t forget your edible metallic paint in gold and blue! Lots of craft and online shops sell this.
Round biscuits:
- Using your gold line icing, outline the shape of a circle on the biscuit. Then let your biscuit dry for 5 minutes at room temperature.
- Flood your biscuit with the gold flood icing. Make sure you don’t overfill!
- Put your biscuits in the oven on a baking tray, set the oven to the lowest temperature it can go (this is usually around 50°C) for 30-40 minutes.
- Using either an airbrush or a large paint brush, coat your biscuit with the gold edible metallic paint, be careful not to use too much, a small amount will work perfectly. Leave to air dry for 5-10 minutes.
- Using the light green line icing add the diagonal line detail on top, as well as the top of the bauble. To finish add baby pink dots in between the lines.
- Then leave to dry for 10-15 minutes in room temperature until the icing dries.
Wide teardrop shaped biscuits:
- Using your white line icing, outline the shape of the biscuit and don’t forget to ice a small circle around the hole in the biscuit too. Let your biscuit dry for 5 minutes at room temperature, this creates a wall so that the flood icing doesn’t spill out.
- Flood your biscuit with the white flood icing.
- Put your biscuits in the oven on a baking tray, set the oven to the lowest temperature it can go (usually around 50°C) for 30-40 minutes.
- Using either an airbrush or a large paint brush, coat your biscuit with the icy white edible metallic paint, a little bit goes a long way so start off sparingly. Leave to air dry for 5-10 minutes.
- It’s time to add detail to your biscuits. Use the gold line icing to add the top of the bauble as well as the swirls to the very top and middle of your biscuit. Then use light green line icing to pipe a star shape in the middle and dots above and below it, as well as on the sides.
- Then leave to dry for 10-15 minutes in room temperature until icing dries, if you want to pack these up for gifts wait a little longer.
