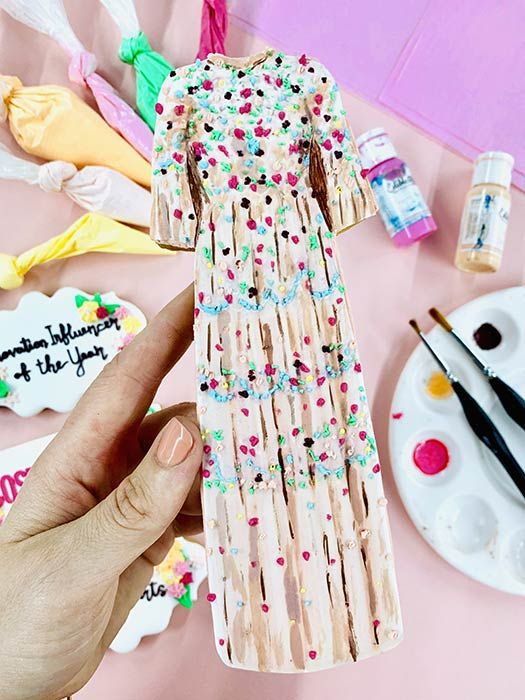
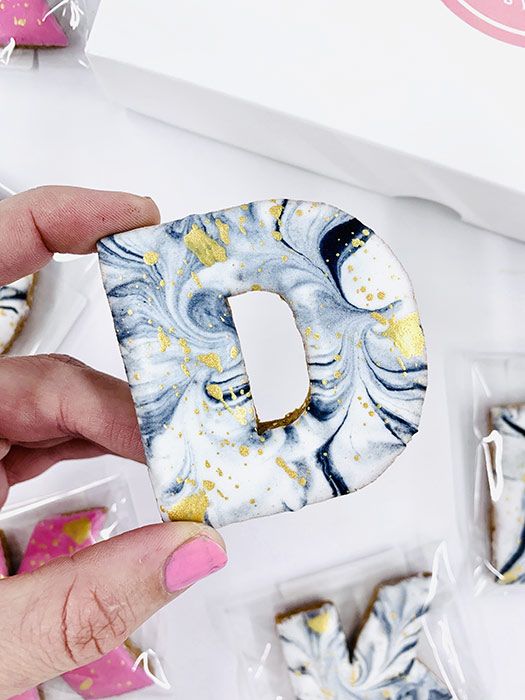
If you've ever attempted royal icing - or any icing for that matter - then you will know that is no easy task. Although it may look like a simple colouring-in job, it takes a whole lot more skill and patience to achieve that Instagrammble style we are so used to seeing on our feed. Luckily, baking sensation Baked By Steph has shared her top royal icing tip and tricks that will mean your biscuits won't need a filter after your done with them - your welcome!
MORE: You need to try this fun rice krispie recipe
Steph says: "There’s nothing I enjoy more than sitting down to decorate cookies but it can be a frustrating process if you aren’t well prepared. Whether you’re using your own home recipe or an off-the shelf royal icing, these tips and tricks will help make sure you achieve the perfectly iced cookie every time!"
Sift your icing sugar!
To achieve a silky smooth finish make sure you sift your icing mix before adding water otherwise you can end up with a grainy mixture, and no one wants a grainy cookie!
Outline and Flood consistency
Once your royal icing is made you will want to split it into two consistencies. Outline icing should be fairly thick, like toothpaste, and hold its shape when piped. We use this to outline the cookie and create a barrier so that the flood icing doesn’t run over the edge. Flood icing should be runnier than outline and shouldn’t hold its shape. To achieve this just add more water. Every cookie artist has their own preference on consistency so have a play around to find what works best for you!
Air bubbles
Air bubbles are a cookie decorator’s worst enemy! They can leave your icing looking lumpy, or even worse, pop and leave a hole - how annoying. When mixing your flood icing be sure to mix it on a low setting. Let it sit for 5 minutes after the first mix and then mix again on a slow speed. If you do this 2-3 times you should be air bubble free!
Gel based colour
Gel based colours are best when working with royal icing as they won’t add too much moisture to your icing so won’t alter the consistency.
Bleeding
Another enemy of the cookie decorator! Dark colours have a tendency to ‘bleed’ into lighter colours. There are a few reasons as to why this might happen but the easiest way to avoid this is to let dark colours dry before filling any adjoining sections with a lighter colour.
Cookie scribe
Sometimes those pesky air bubbles still crop up in your cookie even if you’ve followed my previous air bubble advice. Always have a cookie scribe, or even a cocktail stick, to hand to pop them while the icing is still wet.
Drying
Waiting for icing to dry is about as much fun as waiting for paint to dry. You can speed the drying process along by popping your iced cookies into your oven at the lowest setting for about 40 minutes. An added benefit of the low heat? A smooth and shiny finish - perfect!
Fancy your own Baked By Steph treats? All orders can be made through bakedbysteph.co.uk
OTHER: A croquembouche recipe that is sure to blow your dinner party guests away

