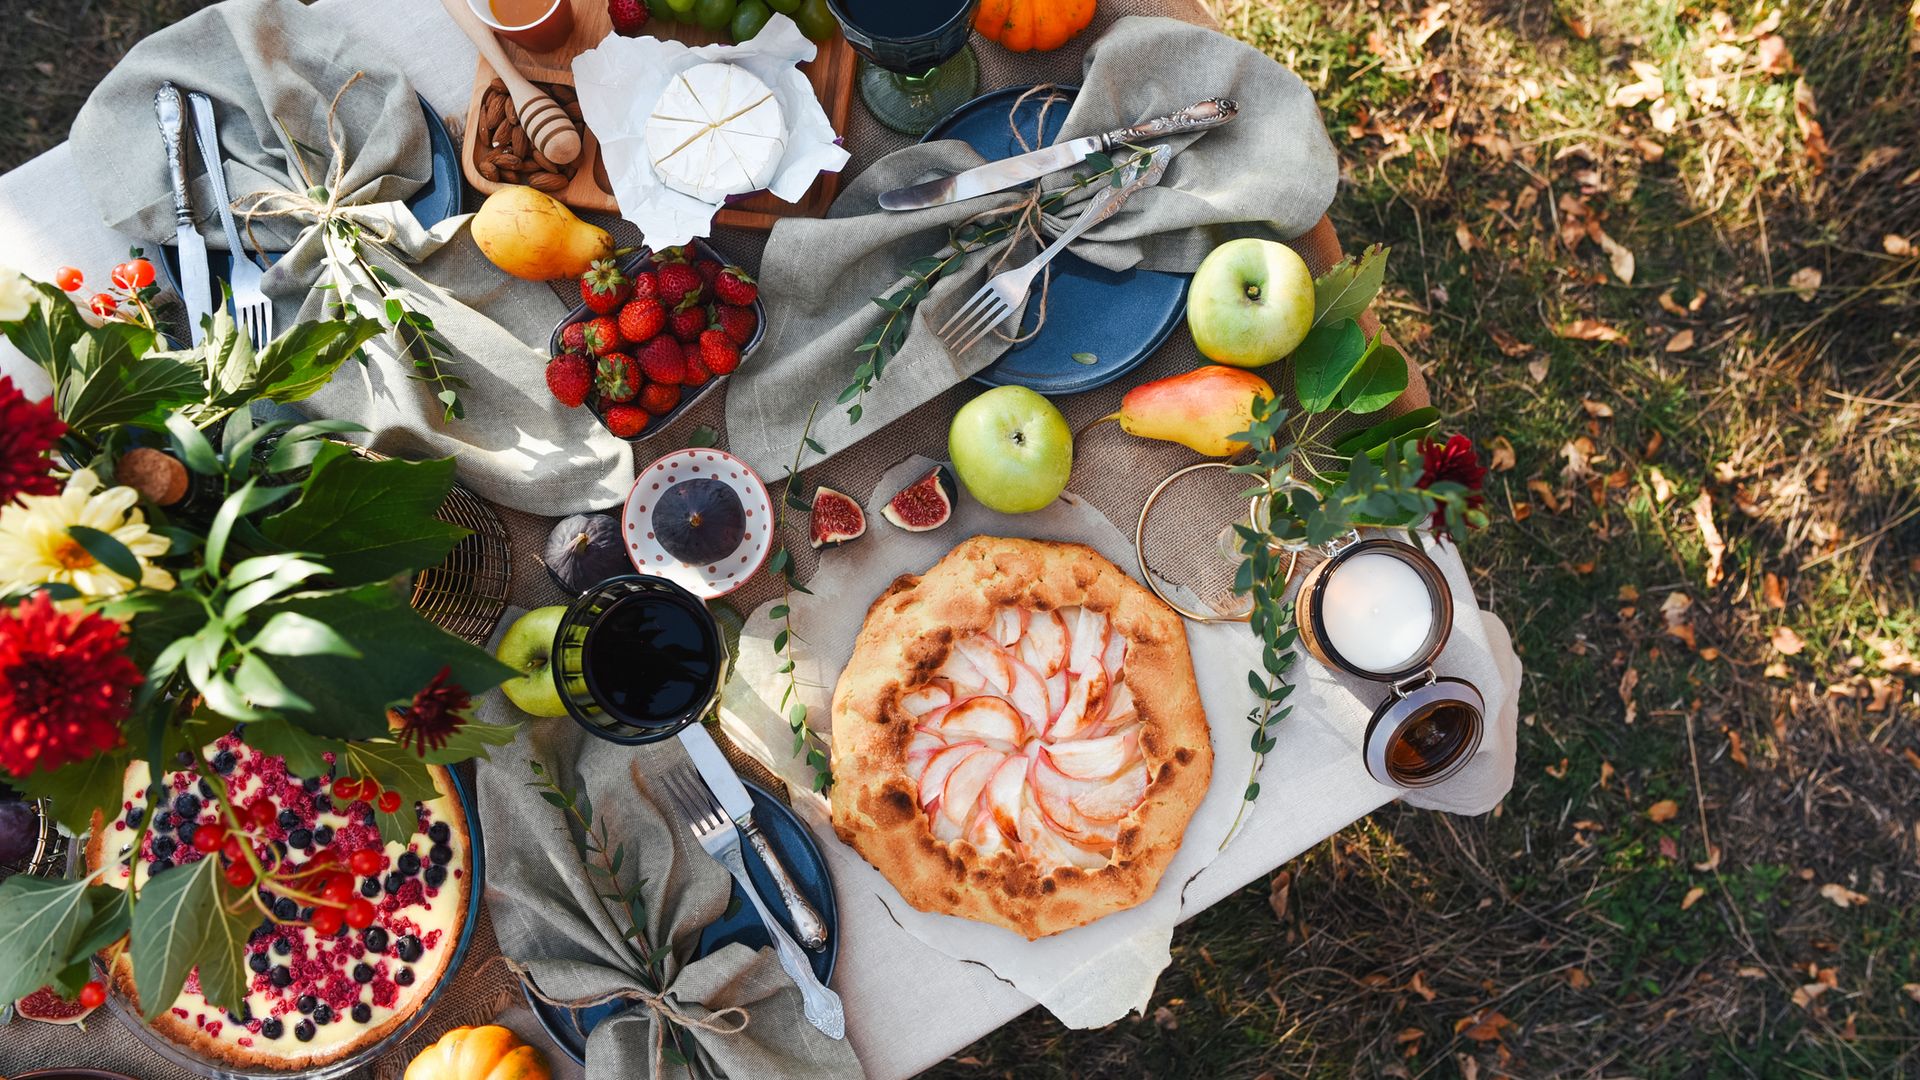
British weather allowing, the month of July and the sunny months that follow are all about hosting.
Whether you are picturing a sun-soaked barbecue or an elevated garden party, many of us are on the hunt for delicious, affordable, and achievable picnic recipes which will satisfy our guests, and the tastes of the humble chef too!
 © David Loftus
Air fryers have become the most on-trend kitchen utensil and summer is no time to put yours to one side. Professional baker and This Morning star Juliet Sear offered HELLO! a handful of mouthwatering recipes from her book, Air Fryer Baking Magic: 100 Incredible Recipes for Every Baking Occasion, that provide inspiration for those looking to gather their nearest and dearest around plates of delicious food this summer.
Read on for the full lowdown…
Cheese-Stuffed Garlic Dough Balls
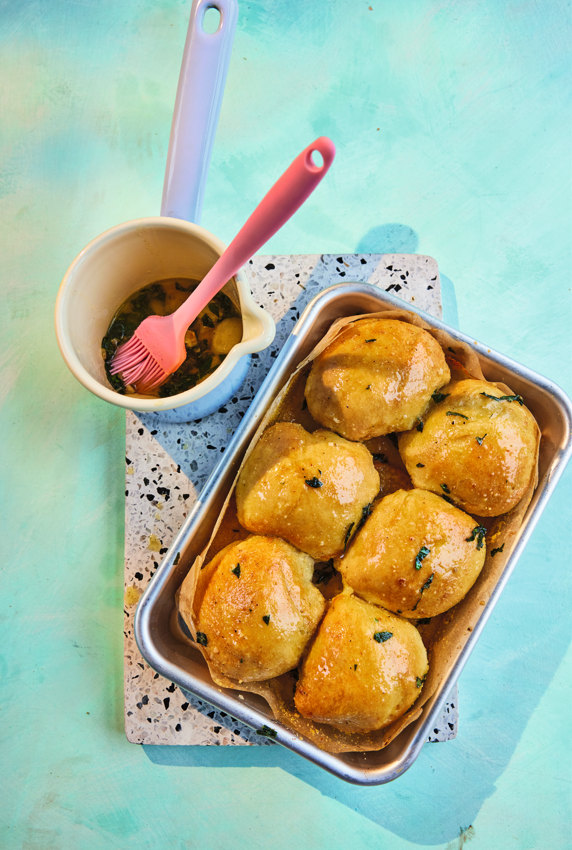 © David Loftus
"If you love stringy pizza-style cheese, this one is for you. This recipe makes one large sharing bread to fit in a 22cm (9in) tin or directly on an oven-style air fryer basket," Juliet says. "For smaller machines, separate the balls into baskets and bake in batches of six. You can halve the quantities and keep the packet of yeast in the fridge once opened, sealed with a bag clip or in a food bag, for up to a month."
1 hour
MAKES 1 LARGE SHARING BREAD OR 11–12 DOUGH BALLS
INGREDIENTS
- 50g polenta or semolina
- 11–12 mozzarella pearls, or chunks of mozzarella
For the dough
- 350g strong white bread flour
- 1½ tsp sea salt
- 7g sachet fast-action dried yeast
- About 250g warm water
For the garlic butter
- 100g butter
- 3–4 garlic cloves, crushed
- Handful of chopped basil
- Sea salt and freshly ground black pepper
METHOD
Step 1
Start by making the dough. Put the flour and salt into a large bowl or stand mixer bowl and mix to combine, then add the yeast and start incorporating the warm water.
Step 2
Mix in the bowl with a bread scraper or using an oiled hand until the dough starts coming together, then tip the dough out onto a work surface and knead for about 15 minutes until the dough forms a smooth and springy ball. Alternatively, knead in the stand mixer for 5–6 minutes.
Step 3
Transfer the dough to an oiled bowl, cover with a damp tea towel or oiled clingfilm, and leave in a warm place for 45 minutes–1 hour, or until doubled in size. The timing will depend on the yeast and the room temperature.
Step 4
To make the garlic butter, melt the butter in a microwave-safe bowl or a saucepan, then stir in the garlic. Season with salt and black pepper, then stir in the basil. Set aside.
Step 5
Generously brush a 23cm (9in) round tin with some garlic butter and scatter over the polenta or semolina (or line the air fryer baskets with parchment paper). If making two half batches place directly into a rectangular drawer or tin that fits your air fryer.
Step 6
Once the dough has proved, knock it back, tip it onto the work surface and give it a little knead. Cut into 11–12 pieces weighing 45–50g. Roll each piece into a ball.
Step 7
Flatten each ball slightly, press a mozzarella pearl in the centre, then bring the dough around to seal in the cheese and shape into a ball again. Place into the prepared tin or baskets, join-side down, leaving a little space between each as they will puff up and join up as they bake. Leave to prove again for 30–40 minutes.
Step 8
Preheat the air fryer to 160°C. Brush the dough balls with more garlic butter and bake for 18–20 minutes. After this time, remove them from the air fryer and brush with more garlic butter. Bake for a further 5–10 minutes until golden brown.
If the balls need more colour, increase the heat to 180°C for the last 5 minutes. Make sure the dough balls are cooked on the underside; if they are a little doughy, carefully turn them over and bake for a further few minutes to crisp off the bottoms. Smaller batches will take less time.
Step 9
Leave to cool for 5–10 minutes before serving with extra garlic butter or oil and sea salt flakes for dipping.
Mum's Quiche
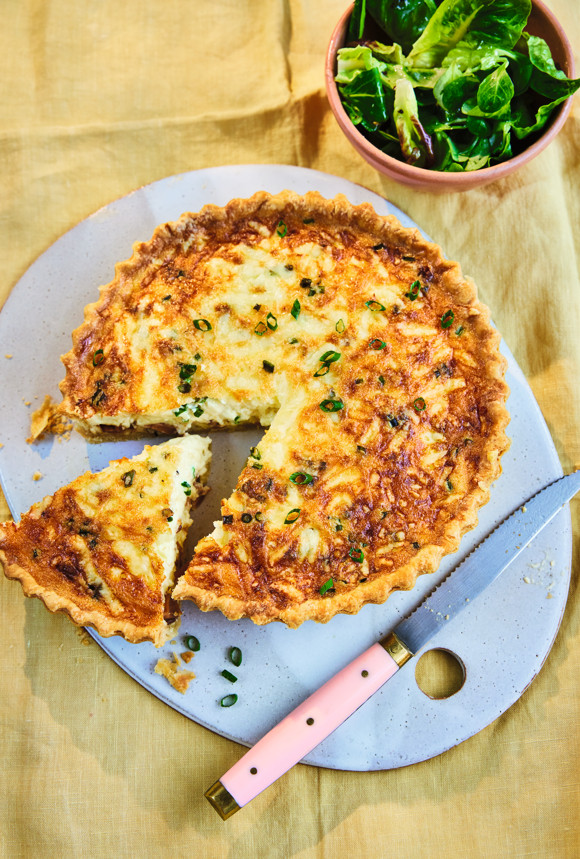 © David Loftus
"This is a classic quiche recipe and a family favourite," says Juliet. "Mum used to make a few flavours – roasted onions, mushrooms, asparagus, and the classic bacon and cheese. My sister and I always had plenty of clonks (her word for slices!) when we were little, with bacon and cheese, but I’m veggie now, so for this version, I use my favourite veggie bacon.
"When my mum used to bake these she’d make a few and freeze them, and any excess pastry she’d give to me and my sister to make little biscuits with. We loved making them and eating them warm from the oven."
2 hours
MAKES 20CM (8IN) QUICHE OR 6 TARTLETS
INGREDIENTS
For the pastry (for either size)
- 180g plain flour, plus extra for dusting
- 90g unsalted butter, chilled and cubed, plus extra for greasing
- ¾ tsp sea salt
- 1 medium egg, plus 1 yolk
- About 2 tbsp ice cold water
For the filling (if making a large quiche)
- 225g double cream
- 3 medium eggs
- 120g strong
- Cheddar, grated
- 75g veggie bacon (or regular), chopped, fried and drained
- 1 tbsp chopped
- Chives (optional)
- Freshly ground black pepper
For the filling (if making 6 tartlets)
- 150g double cream
- 2 medium eggs
- Freshly ground black pepper
- 120g strong Cheddar, grated
- 75g veggie bacon (or regular), chopped, fried and drained
- 1 tbsp chopped chives (optional)
METHOD
Step 1
Lightly grease a 20cm (8in) round fluted tin, or six 10cm (4in) tartlet cases.
Step 2
Start by making the pastry. In a food processor, blend the flour, butter and salt together until the mixture resembles breadcrumbs. Add the egg and yolk and a dash of ice-cold water – just enough for the mixture to form into clumps – do not over-process. If doing by hand, rub the flour and butter with your fingertips and mix in the egg yolk and water with a cold knife.
Step 3
Roll out the pastry immediately to 3–4mm thick and line the tin or cases, pushing the pastry into the fluted edge. Trim off the excess pastry, keeping the scraps in case of the odd tear or hole you may need to patch up, then refrigerate for at least 30 minutes before baking. Prick the base(s), then line them with parchment paper and baking beans.
Step 4
Preheat the air fryer to 160°C. Bake for 15–20 minutes until the case(s) begin to colour and dry out. The tartlets will take slightly less time to bake – just keep your eye on them as they may need a couple of minutes less.
Step 5
Remove the beans and bake for a further 10 minutes for the large case, and 5–6 minutes for the small cases, or until as golden and crisp as you like.
Step 6
To make the filling, beat the cream and eggs together with plenty of black pepper. Scatter the base(s) with half the cheese, then sprinkle over the cooked bacon. Pour over the remaining cream and egg mixture and top with the remaining cheese. Sprinkle with chives, if using.
Step 7
Bake the large quiche for 25–30 minutes and the tartlets for 10–12 minutes until risen, puffy and deeply golden brown. Allow to cool for 10–15 minutes before serving, or allow to cool completely and serve cold or at room temperature.
Pavlova
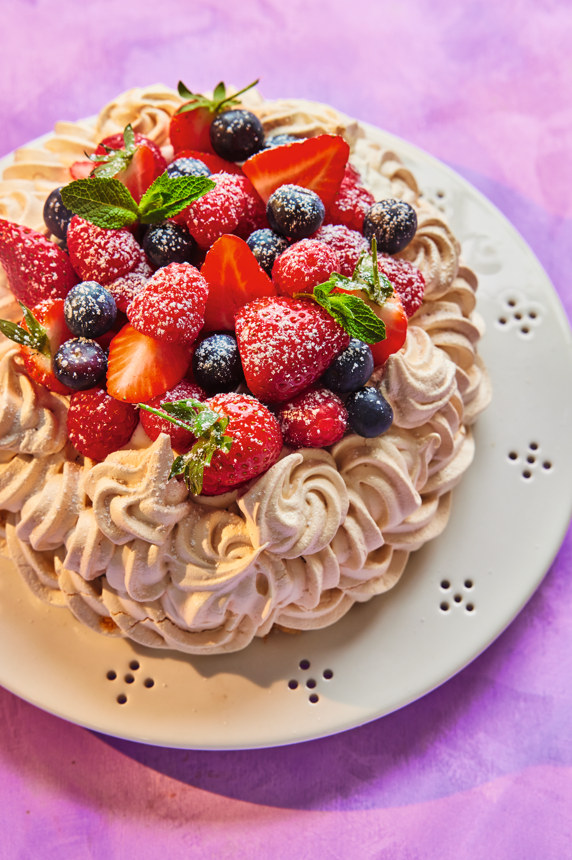 © David Loftus
"Yes, unbelievably you can bake pavlova in the air fryer!," Juliet says. "This recipe is made using the Swiss meringue method: it’s worth heating the egg whites and sugar to create a perfect crisp shell and soft mallow centre. This recipe makes a large pavlova, but if you have a smaller air fryer you can pipe individual mini ones, or make meringue kisses!"
1 hour 50 minutes
SERVES 6–8
INGREDIENTS
For the meringue
- 3 egg whites, at room temperature
- 150g white caster sugar
- ¾ tsp white vinegar
- 50g white chocolate
For the topping
- 100g double cream
- 2 tsp icing sugar (optional)
- 1 tsp vanilla extract
- About 150g mixed fruits or berries of your choice
METHOD
Step 1
Start by making the meringue. Put the egg whites into a heatproof bowl. Add the sugar and vinegar and set the bowl over a saucepan of simmering water. Make sure the base of the bowl doesn’t touch the water.
Step 2
Use a balloon whisk and beat the egg whites and sugar to encourage the sugar to dissolve. This will take a few minutes – use your fingertips to check the consistency. If the mixture feels gritty, then continue to cook and whisk over the pan. When ready, the mixture should feel warm and slippery/silky smooth between your fingertips.
Step 3
Remove the bowl from the heat and use an electric hand mixer to whisk on high speed until the meringue holds firm peaks – this can take 10 minutes or more. The meringue should be stiff and glossy.
Step 4
If you want to be super neat, draw a 20cm (8in) circle on a piece of parchment paper (subject to the size of your air fryer) and place the paper in the air fryer basket. Fit a piping bag with a 1cm star tip (Wilton 1m) and fill the bag with the meringue.
Hold the piping bag over the paper at a 45-degree angle and pipe a ring of meringue around the outer pencil line, using a spiral motion to create a rope effect, then fill in towards the centre. Then go back around the outer edge in a swirly style to create the height (alternatively, you can spoon the meringue into the lined basket in one mound, then spread it out and create a well in the centre, lifting the spoon on and off the top of the meringue ring to create little peaks). If you have an oven-style air fryer, do this on a baking sheet and slide it in.
Step 5
Preheat the air fryer to 120°C. Bake for 30 minutes, then reduce the temperature to 100°C and bake for a further 50 minutes–1 hour. Turn off the heat and leave in the air fryer to cool completely. If making ahead, melt the chocolate and paint the inside of the cooled pavlova and allow to set, then store until needed.
Step 6
When ready to fill, put the cream, icing sugar, if using, and vanilla in a bowl and whisk until the cream holds soft peaks. Fill the meringue with the cream, top with the fruit and serve immediately.
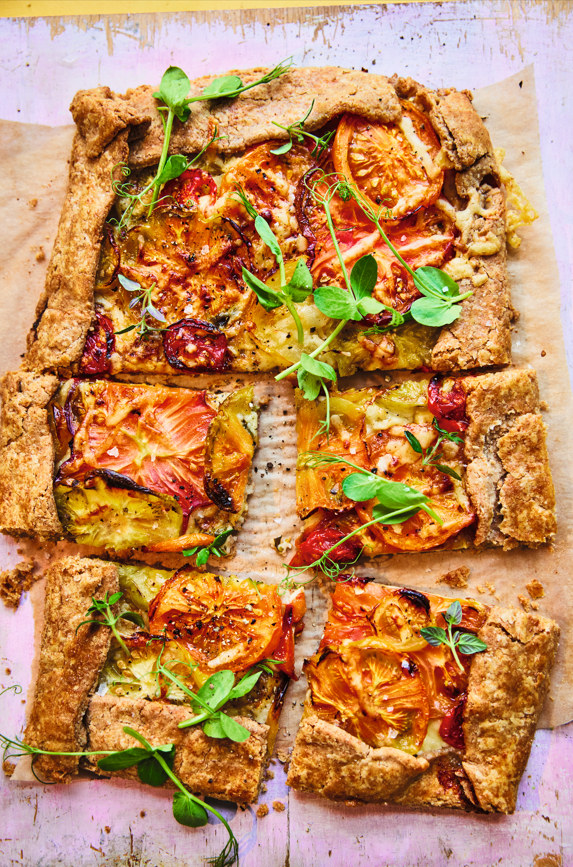
Tomato Galette
 © David Loftus
According to Juliet, "this is a delicious easy tart, gorgeous served warm or at room temperature with a salad. If you have a large oven-style air fryer you can make one large galette, but if you have a smaller single-basket air fryer, you can halve the quantities and make one smaller free-form tartlet to fit your basket or tray."
2 hours 10 minutes
MAKES 1 LARGE GALETTE OR 2 SMALLER ONES (SERVES 6–8)
INGREDIENTS
- 150g tomatoes of your choice
- 1 tsp sea salt, plus extra to taste
- 75g strong Cheddar, grated
- 1 tbsp chopped oregano or thyme, or a mix
- 1 egg, beaten, to glaze
- Freshly ground black pepper, to taste
For the pastry
- 180g wholemeal spelt flour (or plain flour), plus extra for dusting
- 100g unsalted butter, chilled and diced
- 1 tsp sea salt
- 1 medium egg, beaten
METHOD
Step 1
Slice the tomatoes to 5mm (¼in) thick. Put them in a colander set over a large bowl and sprinkle over the salt. Set aside for 1 hour to draw out the juices.
Step 2
If you have an oven-style air fryer, line a baking sheet with parchment paper. If using the basket kind, cut two pieces of parchment paper to fit the baskets, with an overhang of 5cm (2in) to help lift the galettes (or use silicone liners).
Step 3
To make the pastry, tip the flour, butter and salt into a food processor and blitz to fine breadcrumbs. Add the egg and pulse to a soft dough – if the dough seems dry, add ½ teaspoon of cold water at a time until it comes together.
Step 4
Knead the pastry briefly, pat it into a round, and roll it out on a lightly floured work surface. Before the pastry is fully rolled out, transfer it to the prepared baking sheet and continue rolling out to a rectangle approximately 28x24cm. If making two smaller galettes, make the bases slightly smaller than the basket and liner so the steam can escape. This will prevent soggy bottoms.
Step 5
Add half the cheese, arrange the tomatoes in an even layer, then sprinkle with thyme and the remaining cheese, leaving a border of about 5cm (2in) around the edge. Season with salt and pepper.
Step 6
Brush the pastry border with egg wash, then fold the border up so it slightly overlaps the filling. Brush with more egg wash.
Step 7
Preheat the air fryer to 160°C. Bake for 45–50 minutes for the large galette, 30–35 minutes for the smaller ones. The pastry should be golden and crisp, the tomatoes soft and browning. Remove the parchment paper and allow the base to crisp up for the last 5–10 minutes. Leave to stand for 5–10 minutes.
Step 8
Serve warm, garnished with fresh herbs, with a side salad.
Air Fryer Baking Magic by Juliet Sear is out now (£20.00, HarperNonFiction)