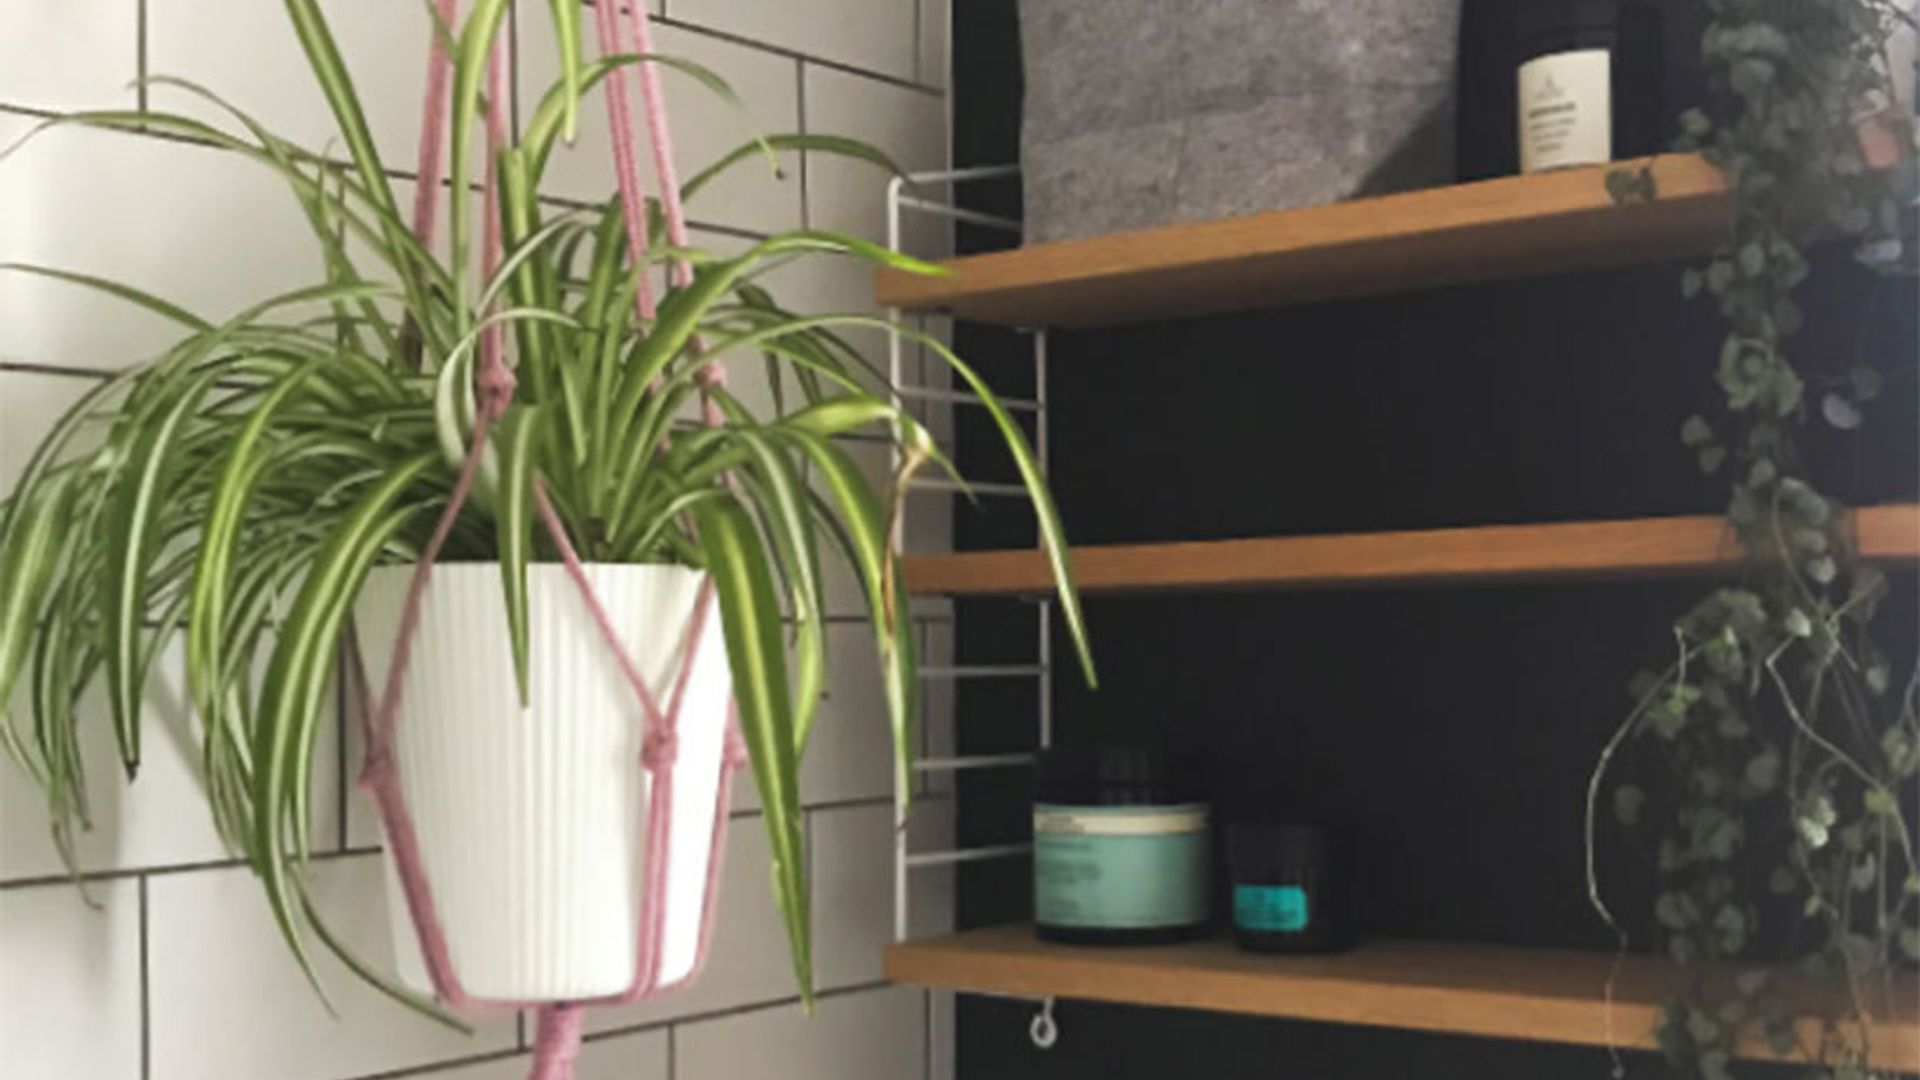
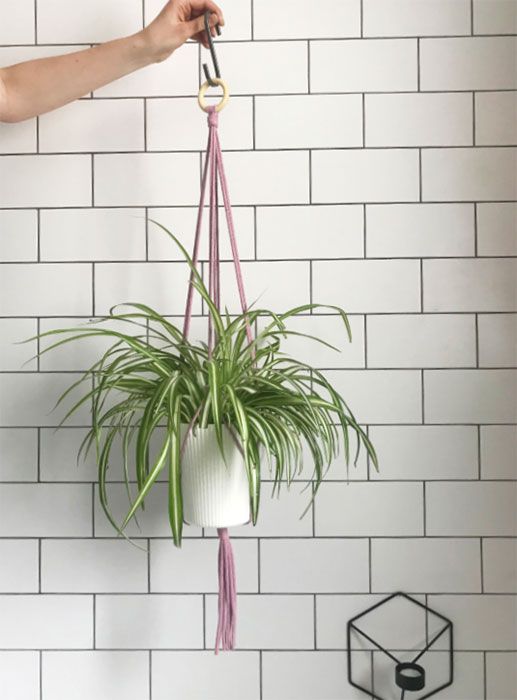
The resurgence of the macramé trend shows no sign of slowing down, and adds a striking, stylish edge to any room. But rather than spend a fortune on bringing the trend into your home, why not get crafty and make your own hanging macramé planter? We’ve got a step-by-step guide on how to make a colourful planter from Katie, who runs By-Me, a small crafts business offering an array of bespoke orders and workshops. And thankfully it’s much easier than it looks – scroll through to learn how to make your own macramé hanging planter in just four easy steps…
STORY: Shower plants - the latest must-have interior accessory
Visit Katie’s website to browse her range at by-me.london or follow her on Instagram @by_me_katie to see where she’ll next be running a stall by you.
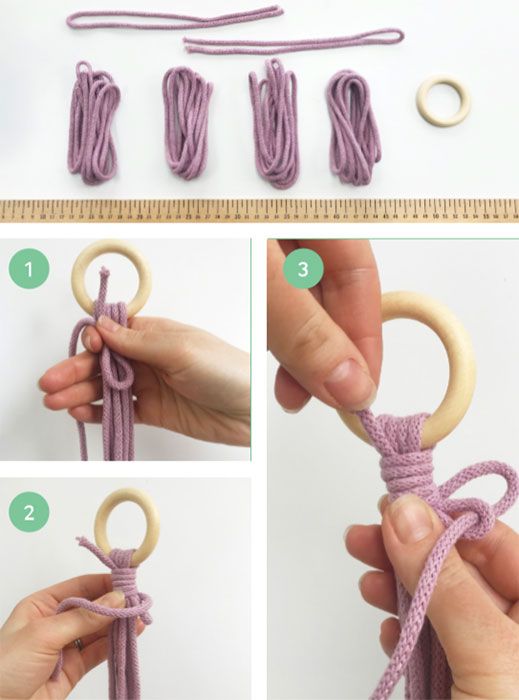
To get started, you’ll need the following materials:
- 4 x 2m cords
- 2 x 50cm cords
- 1 x wooden ring
STEP ONE: THE WRAPPED KNOT
Fold the 4 x 2m length cords evenly in half and thread the wooden ring to the centre point.
Take a 50cm piece of cord and make a loop at one end. Hold the loop against the longer lengths, close to the ring and with the loop facing down (image 1).
Wind the longer end of the looped cord around the bunch, starting at the top and working down (image 2).
After 5 full turns, thread the end through the exposed loop and pull the other end back through from the top (image 3).
STEP TWO: MAKING THE BASKET
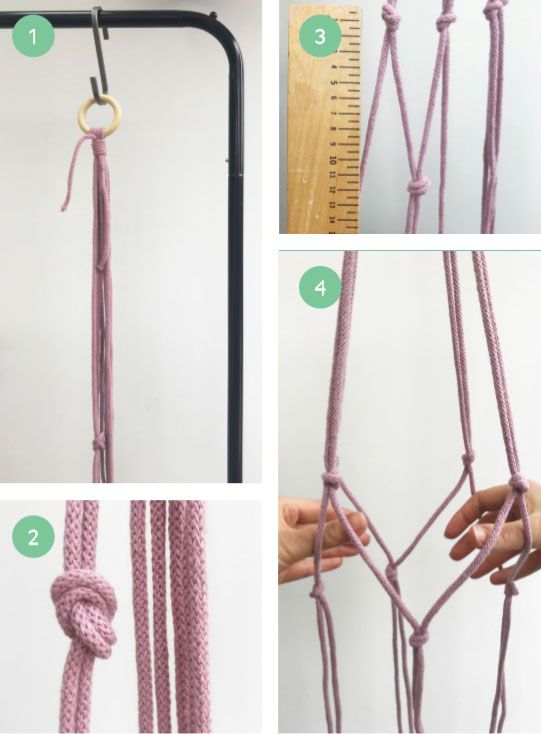
Hang your hanger back on the rail (image 1).
Take 2 cords, adjacent to one another and tie a knot approximately halfway down from the wrapped knot (image 2).
Repeat this with each pair of adjacent cords lengths.
Now make another row of knots approximately 12cm away from the first set of knots. This time tie the alternate pairs of cord (image 3).
You’ll see the basket starting to take shape! (image 4)
STEP THREE: FINISHING OFF
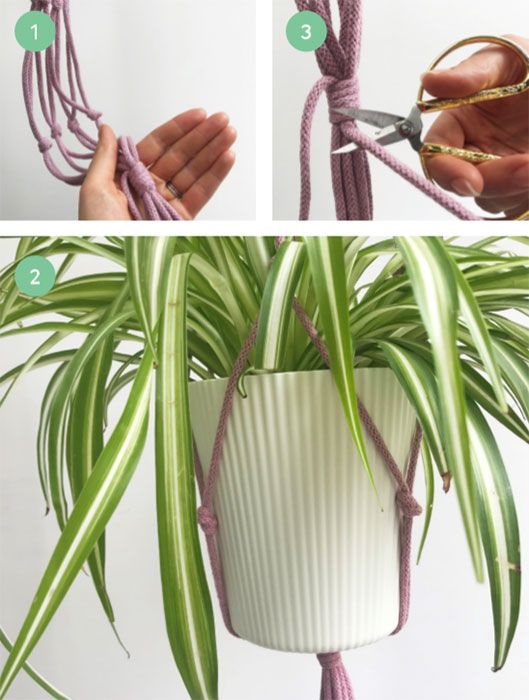
Repeat the wrapped knot 12cm below the bottom row of knots using the remaining 50cm piece of cord (image 1).
Now, try out a plant and pot in the basket, making sure the plant and pot sit straight and all your knots are even (image 2).
Trim the hanging cord at the bottom and any excess cord on the wrapped knots (image 3).
CONGRATULATIONS! You have made yourself a lovely new plant hanger!
