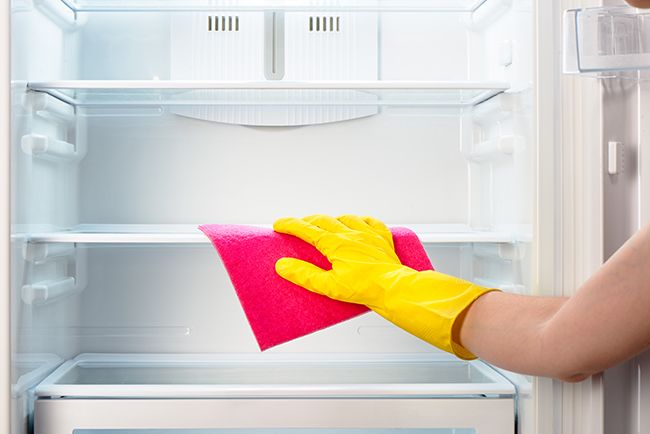
The fridge is one of the hardest-working appliances in the kitchen, but chances are, it doesn't get as much care and attention as other surfaces.
However, without regular cleaning, food spillages and residues can build up, while long-forgotten foods and condiments can go off and create unpleasant odours that fill the entire fridge – not to mention create a build-up of harmful bacteria. Get the lowdown on how often you should clean your fridge – and how – with our expert guide.
WATCH: Fridge organisation tips from This Girl Can Organise
How often should I clean my fridge?
According to the experts, we should be giving our fridges a deep clean four times a year. Ideally we would also do smaller, more regular cleans to keep on top of any spillages and remove any food that may have spoiled.
MORE: How to correctly organise your fridge
How to deep clean your fridge
Ready for a deep clean? Joe Authbert, Buying Manager at ProCook, shares the simple step-by-step process you should follow.
1. After a lot of use, our fridges can begin to smell unpleasant and affected by harmful bacteria. To deep clean your fridge, completely empty it out and place any out-of-date foods in the food waste.
2. Keep any perishable foods in cool bags while you work, and remove the shelves and drawers from the fridge.
3. Wipe down the fridge’s interior from top to bottom with a cloth and a spray of equal parts water and vinegar, getting in all the small crevices.
4. Once the removable fridge parts have warmed to room temperature wash them in warm, soapy water in the sink.
5. Finally, once all these parts are completely dry, slot them back in the fridge, followed by your food.
We should deep clean our fridges four times a year
How to clean a fridge drip tray
You've got the interior of your fridge sparkling clean, but what about the drip tray? If you don't even know what the drip tray is, let alone where to find it, chances are it's in need of a clean to prevent any mould or odours forming.
First, check your fridge manual to locate where the drip tray is, and find out if it is removable. Disconnect the power supply and turn off the water supply if your fridge has one to prevent any leakages.
SHOP: The Queen of Clean reveals her top Amazon cleaning buys
MORE: 5 time-saving cleaning hacks that will change your life
Drip trays located at the front of the fridge may require you to remove the kick panel at the bottom of the appliance, while you will need to carefully unscrew the back panel if the drip tray is located at the rear.
Empty any water from inside the drip tray into the sink, then spray with a cleaning solution and leave to stand for a couple of minutes before scrubbing to remove any grime and residue. Once it's clean, rinse thoroughly and dry before returning to the fridge.
How to clean your fridge's exterior
You may want to choose a specialist cleaner for the exterior of your fridge
A mix of white vinegar and water also makes an effective cleaning solution for the exterior of your fridge. However, if you have a stainless steel fridge you may prefer to use a cleaning product specially formulated for stainless steel to ensure you can maintain its natural shine without causing scratches or streaks.
How to clean a fridge with baking soda
Baking soda is a versatile product that can be used to naturally clean many areas of the home, and the fridge is no exception, as it can neutralise odours and help to remove stubborn stains.
Getting your fridge smelling fresh can be as simple as leaving an open box of baking soda in there, as it will absorb any bad odours. Replace it at least every three months, to tie in with your deep clean.
To remove stains, mix some baking soda with a small amount of water to create a paste, then use a cloth or toothbrush to scrub them away, before rinsing and drying.
READ: Inside 8 epic celebrity fridges
How do you clean a fridge with vinegar?
Like baking soda, white vinegar is an essential in any natural cleaning cupboard as it can kill germs and cut through grease and grime effectively. To use it in your fridge, mix equal parts vinegar and water in a spray bottle and spray generously on the surfaces, leaving for 10-15 minutes before wiping clean.
Should you turn a fridge off when cleaning?
You don't need to unplug the fridge while cleaning if the shelves are removable and you take care to close the door in between steps. However, if the shelves can't be removed or you need to spend a long time cleaning the interior of the fridge, you may find it best to turn off the appliance to avoid wasting energy.
MORE: How to clean an airfryer in four simple steps
What not to do when cleaning a fridge
1. Don't forget to clear out old food
Don't miss the opportunity to clear out old or out of date food when cleaning your fridge. It can be easy to lose track of when condiments and jarred foods go out of date, so take a second to check the expiry date while clearing out your fridge.
2. Don't clean the shelves too hot
Temperature fluctuations can cause cracks in glass refrigerator shelves, so allow the shelves time to reach room temperature before washing, and then let them cool down again before returning to the fridge.
3. Don't use strong chemical cleaners
Natural cleaning products such as baking soda, white vinegar and lemons can be incredibly effective at deep cleaning and deodorising your fridge, and are much better to use in place of strong chemical cleaning products, which could be a safety risk if transferred to your food.
4. Don't clean the back of your fridge while it's plugged in
It should go without saying, but for safety purposes you should unplug your fridge before cleaning the coils in the back of the appliance.
Like this story? Sign up to our HELLO! Mail newsletter to receive all the latest royal and celebrity news straight in your inbox.

