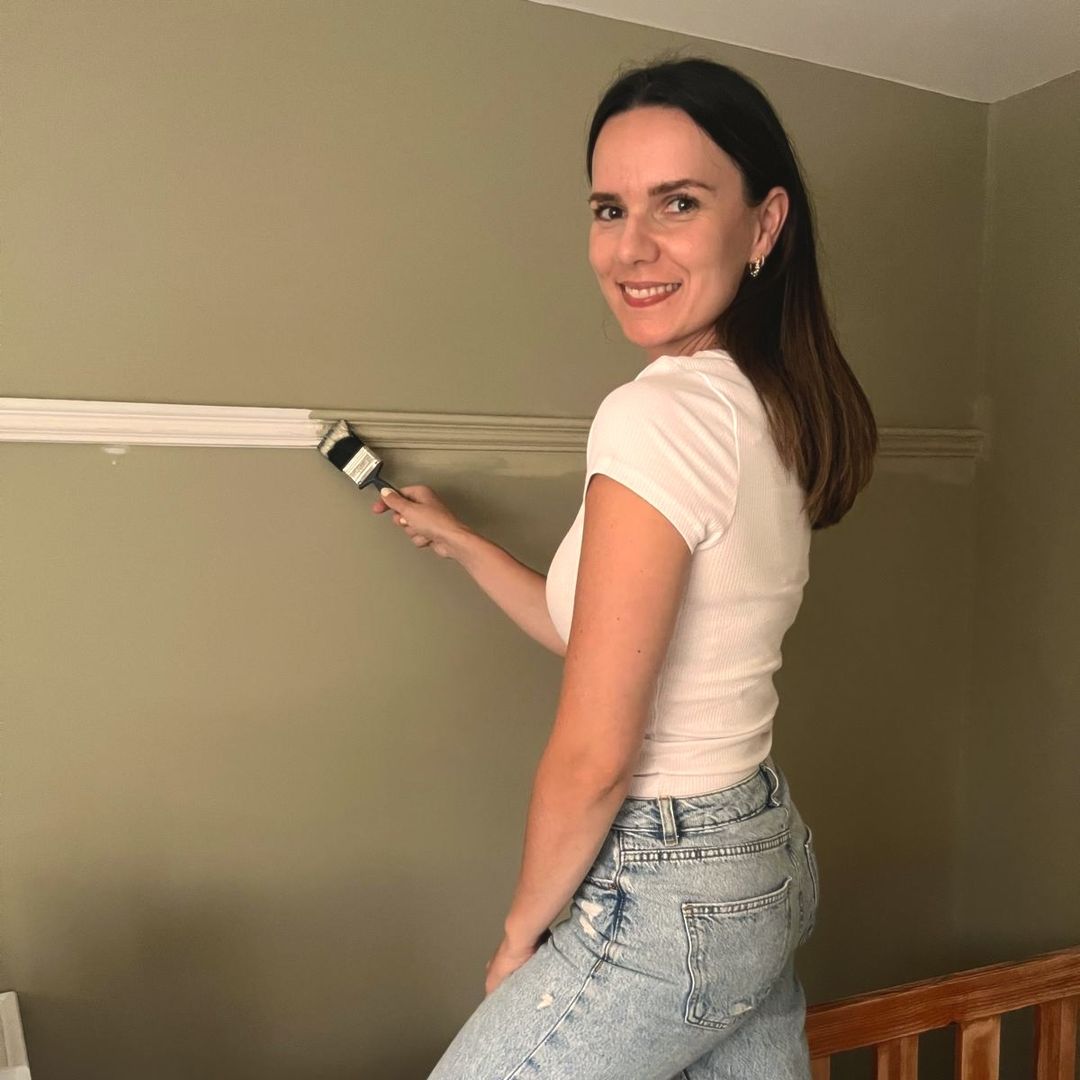
Panelling has been around for a few years now, but it's more popular than ever! With 45.3 million TikTok posts on the topic, it seems like everyone is keen for inspiration and tips. In my own home renovation, I've done a dado rail in my son's nursery and gone for Victorian-style panelling on my bespoke IKEA Pax hack wardrobes – and I must say I found panelling a breeze compared to other DIY jobs.
B&Q's Head of Decor, Gill Baker says "Wall panelling is an easy, affordable DIY project that can instantly elevate any room with elegance and charm, adding character to even the most minimal spaces". She shares her ultimate advice with HELLO! for perfecting DIY panelling and discusses the hottest ways to do panelling in 2025…
Top panelling trends
Shaker
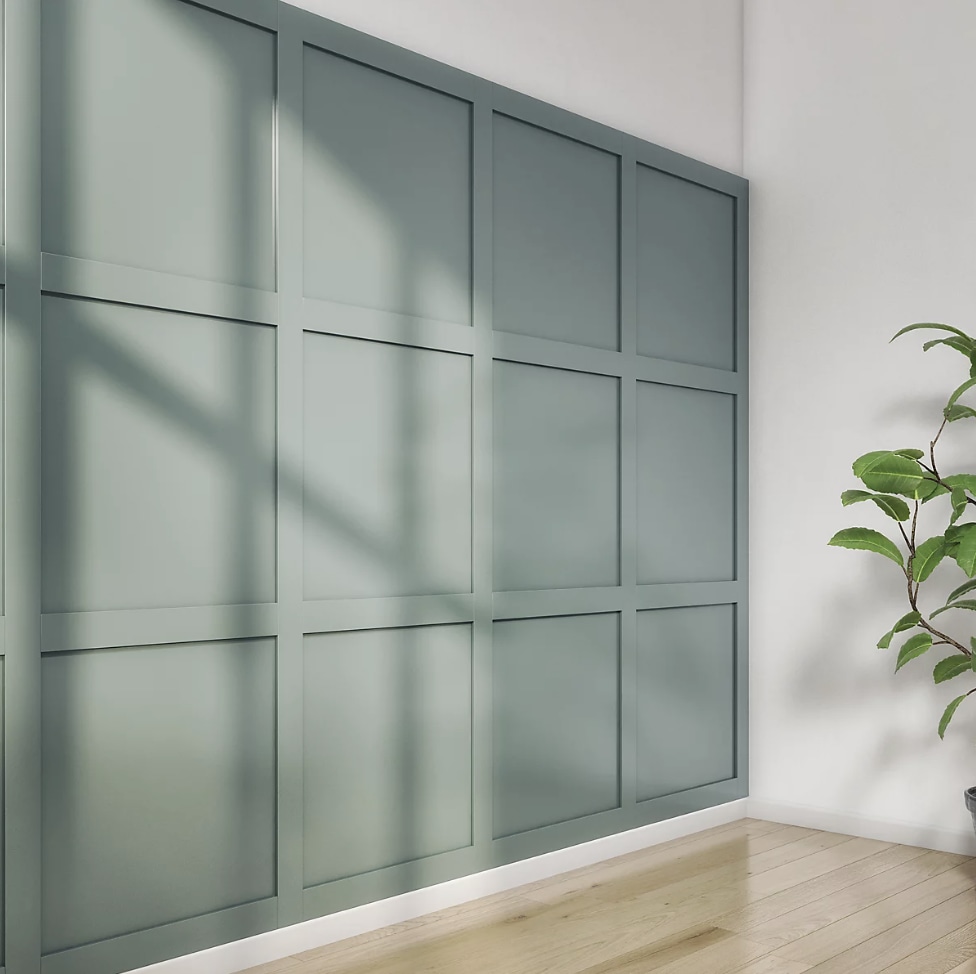
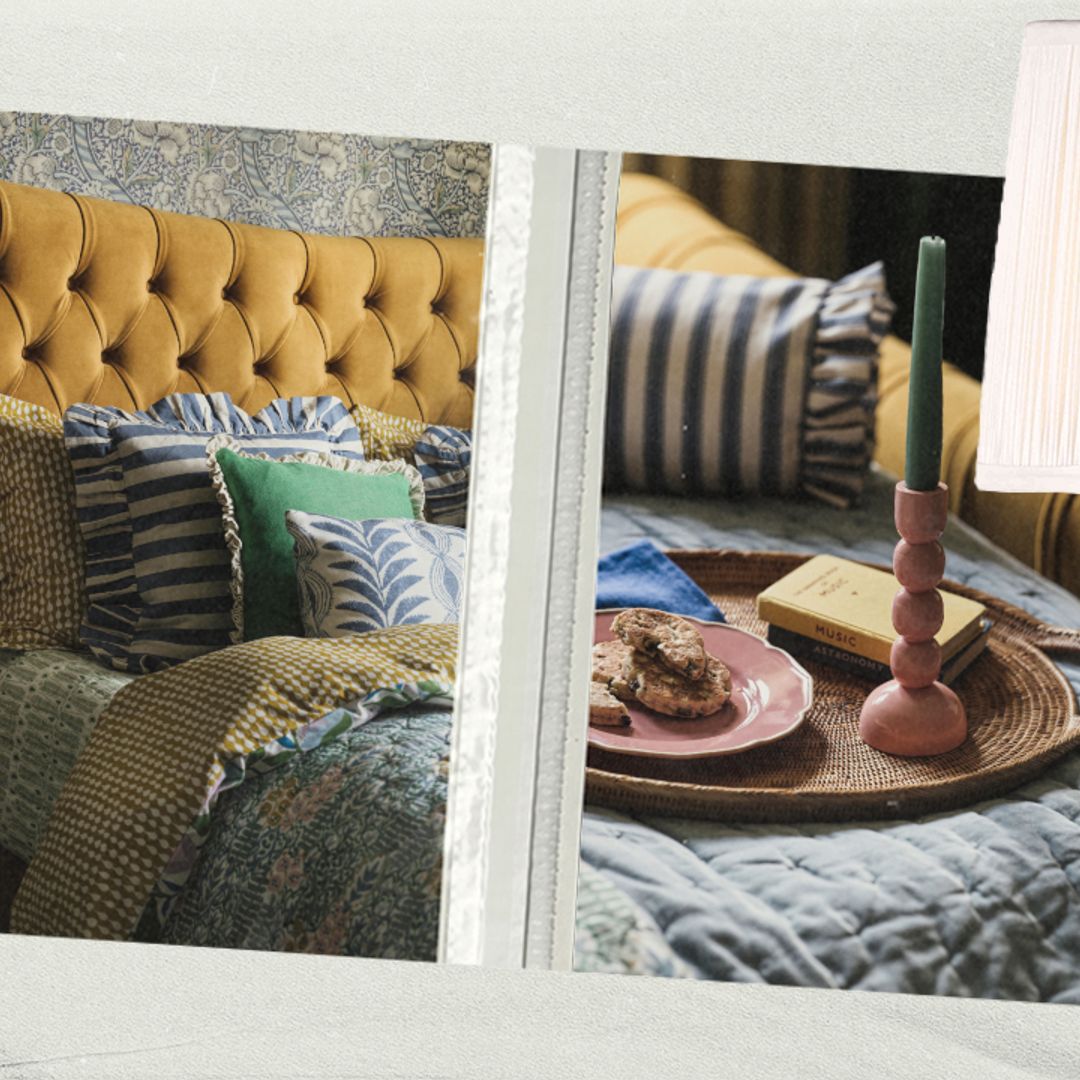
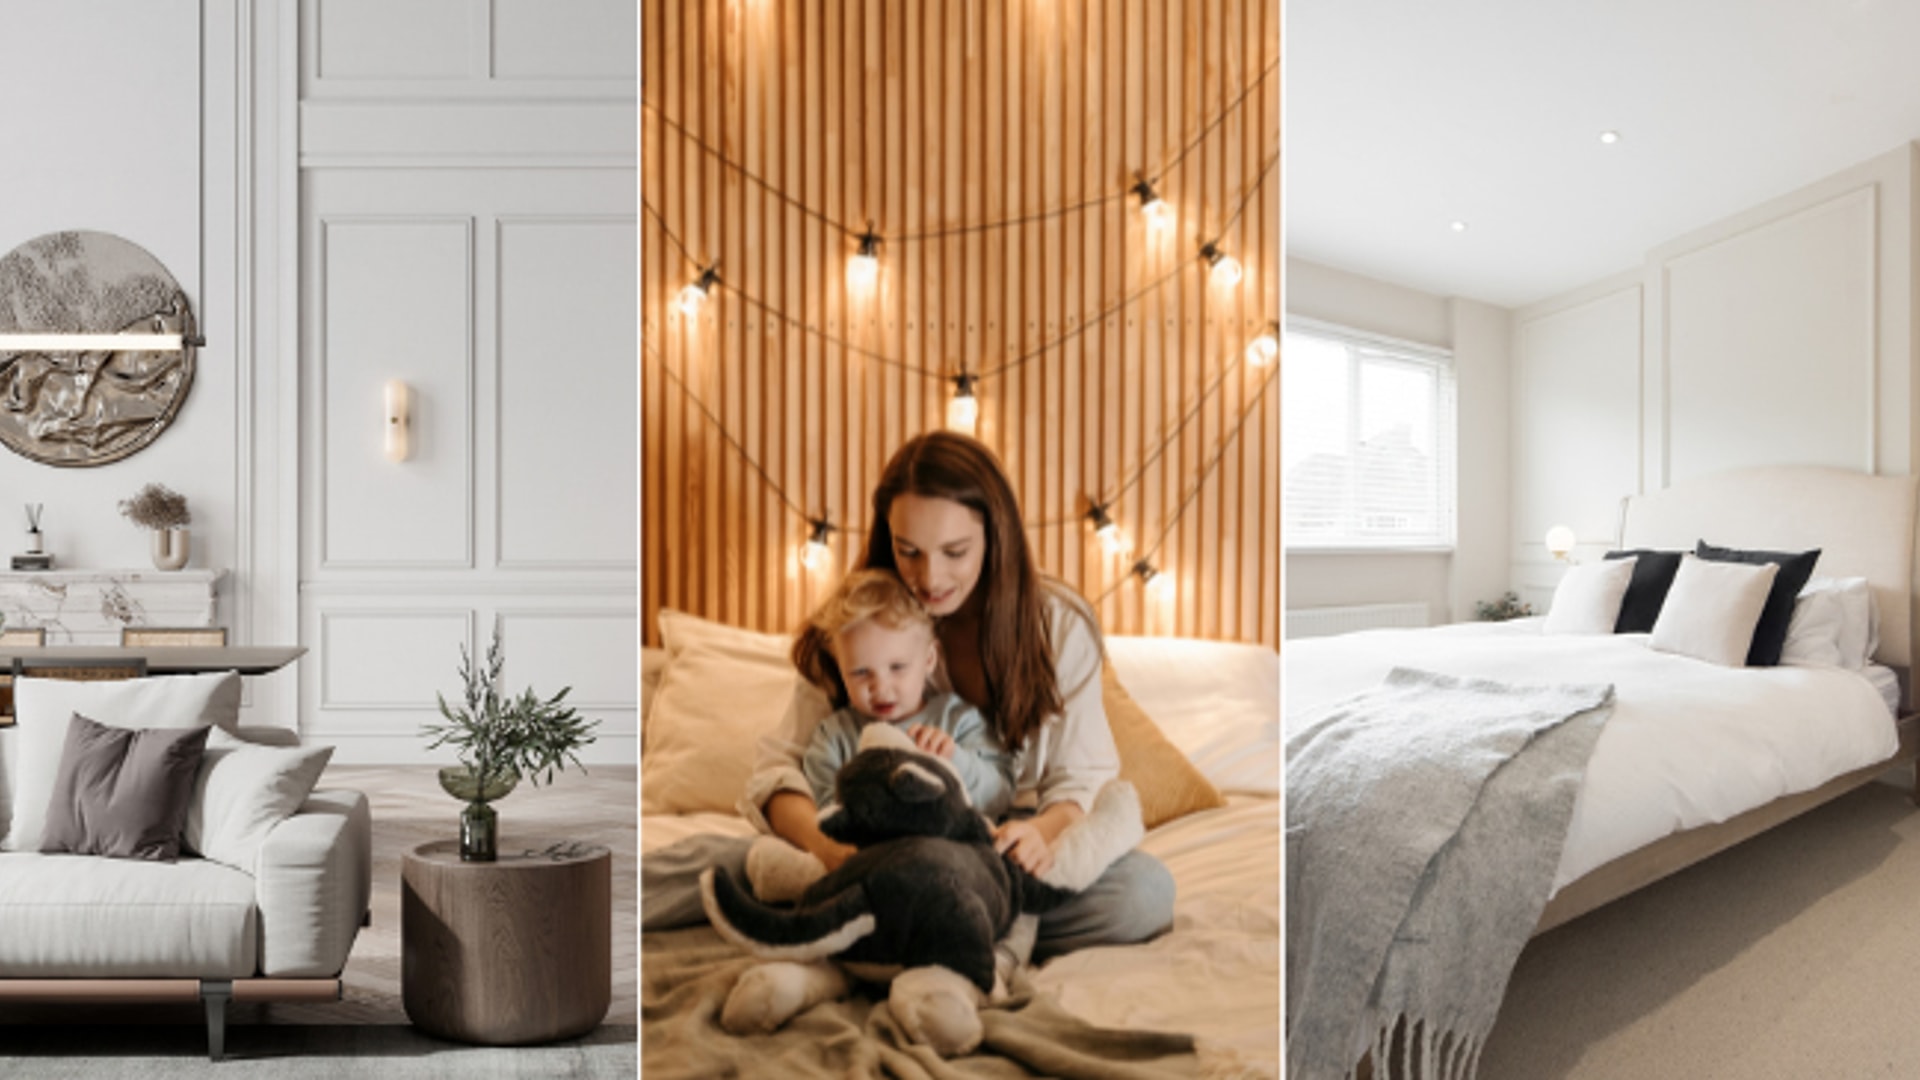
B&Q recorded a whopping 3,552 per cent year on year increase for the term 'DIY panelling kit', while searches for 'Shaker panelling kit' soared by 1,300% per cent. Shaker-style panelling, also known as board and batten, is one of the most popular DIY panelling options. Its classic square design adds depth and dimension to a room, creating a warm and inviting atmosphere. This style is commonly used in bedrooms, often serving as a striking feature wall behind a headboard.
Victorian
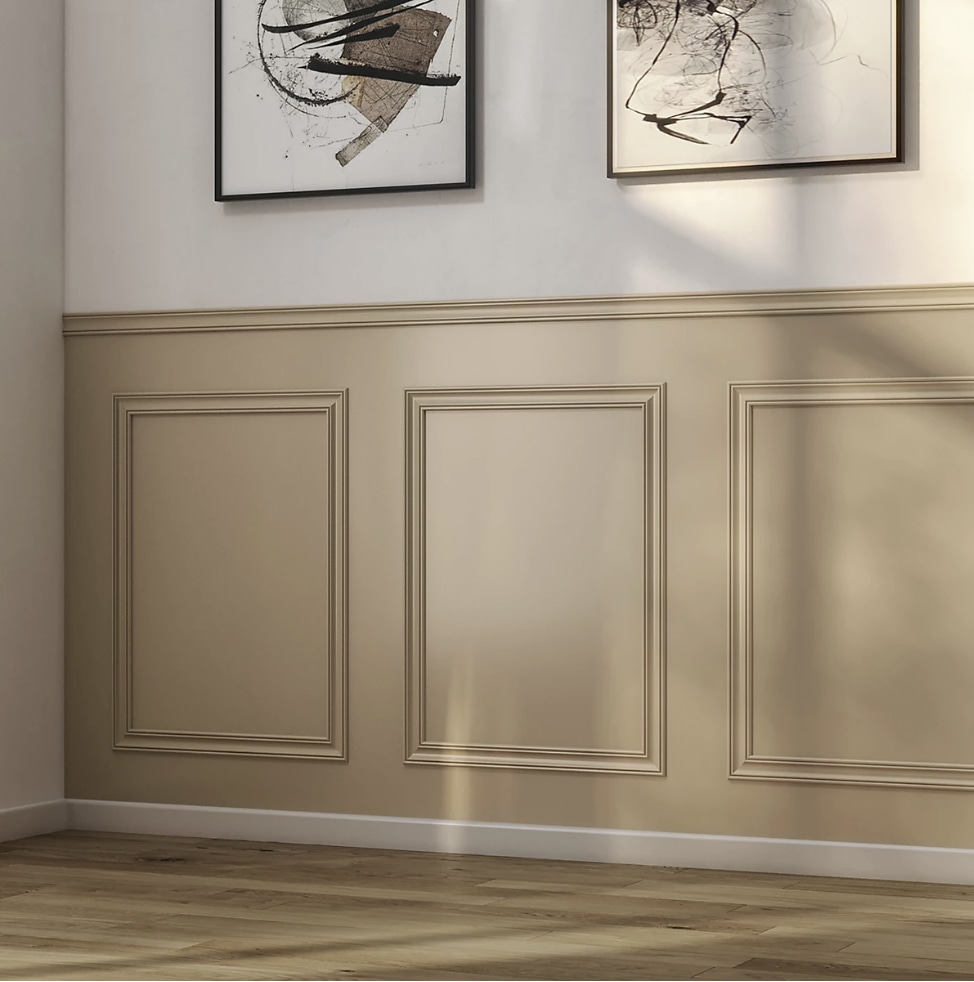
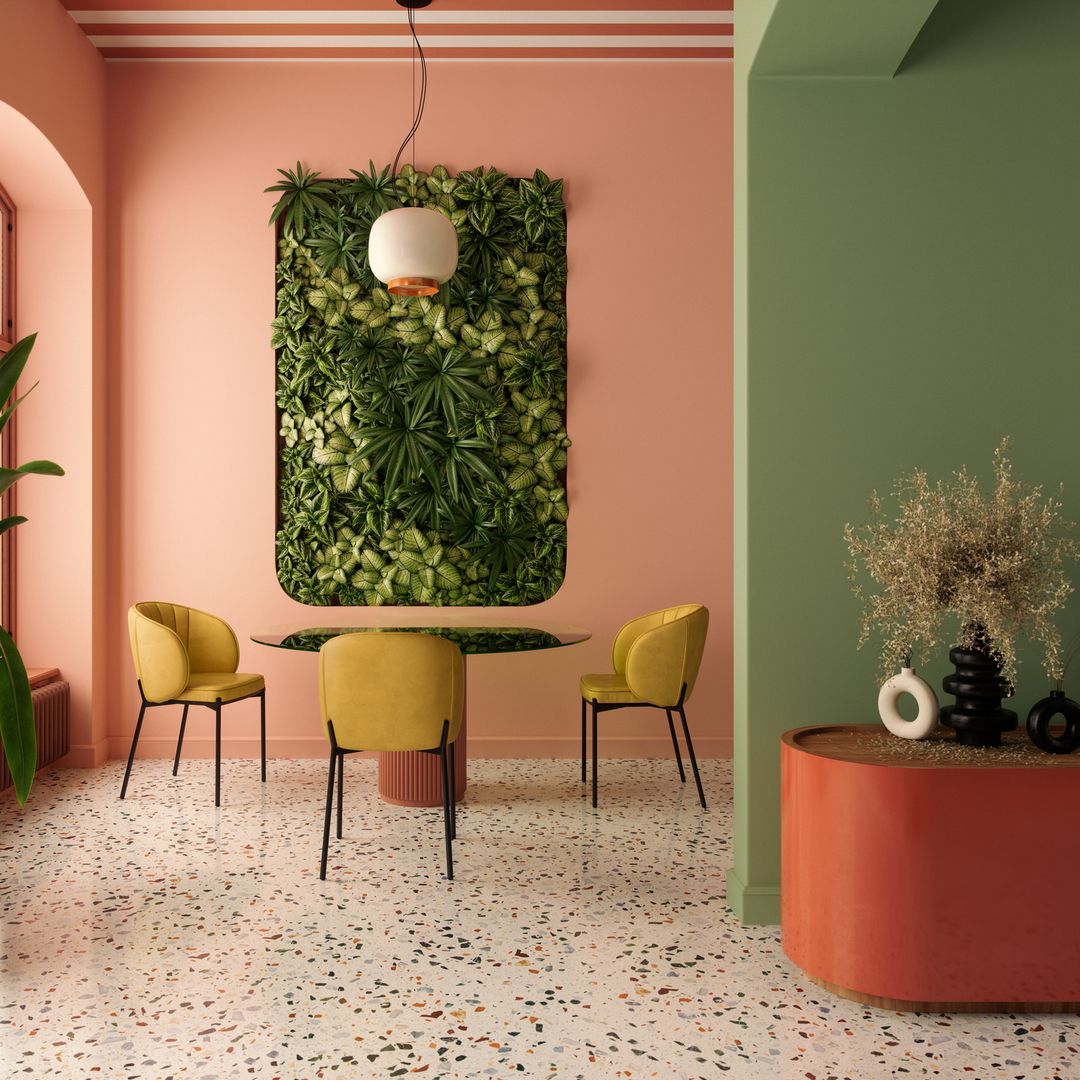
Victorian is a classic style of panelling which reflects the interior design of a traditional home, featuring panels that look like a picture frame. While Victorian panelling comes in various styles, opting for floor-to-ceiling panelling creates an especially grand and elegant look.
Shiplap

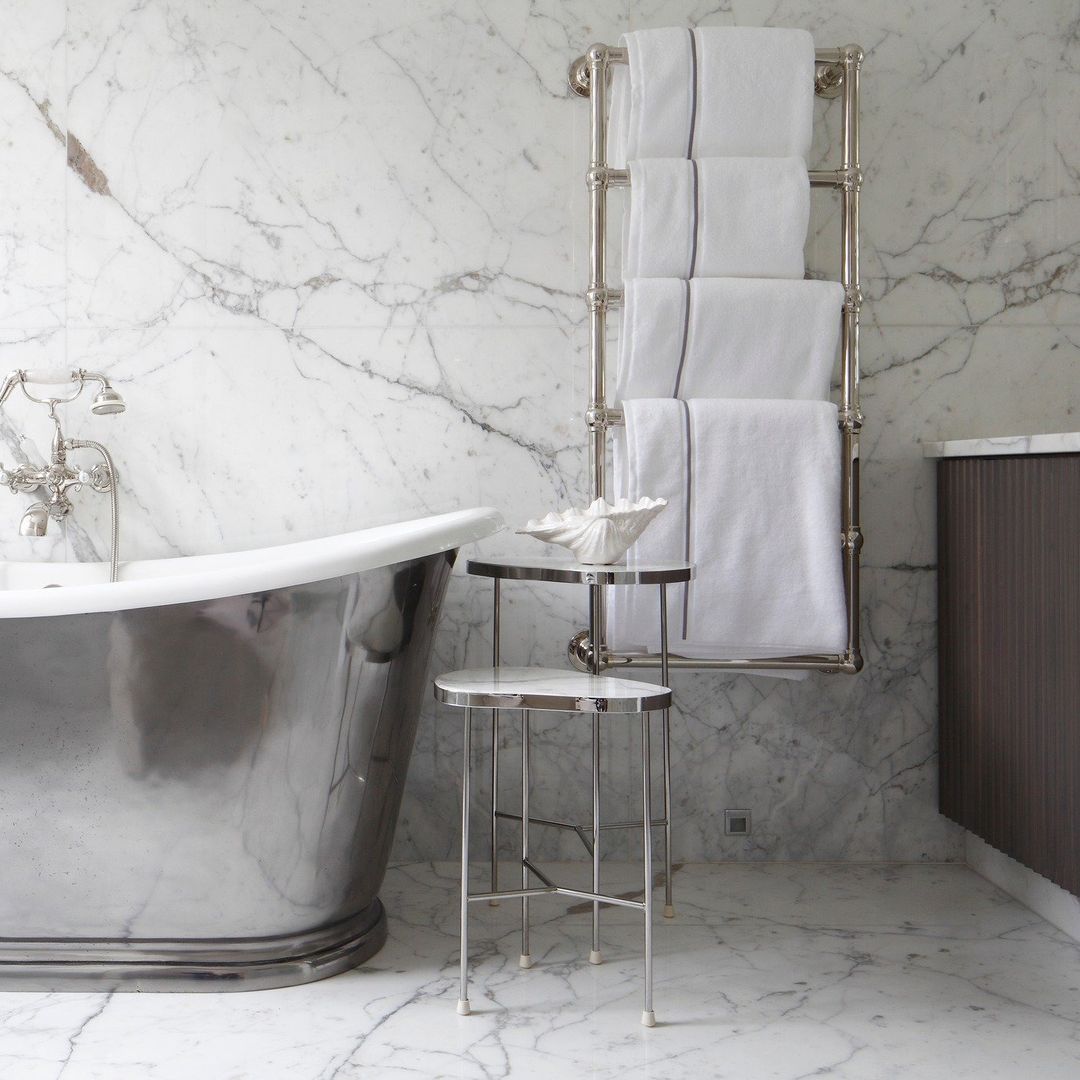
Shiplap is a type of panelling that was initially designed to waterproof boats, featuring grooves on the top and bottom edges that allowed the panels to overlap, creating a tight seal against water. However, today the design is frequently used in homes and is often seen in bathrooms given its nods to nautical aesthetics. It's most commonly featured around the bottom half of the wall, leaving the top for a pop of colour or sometimes wallpaper.
Slatted
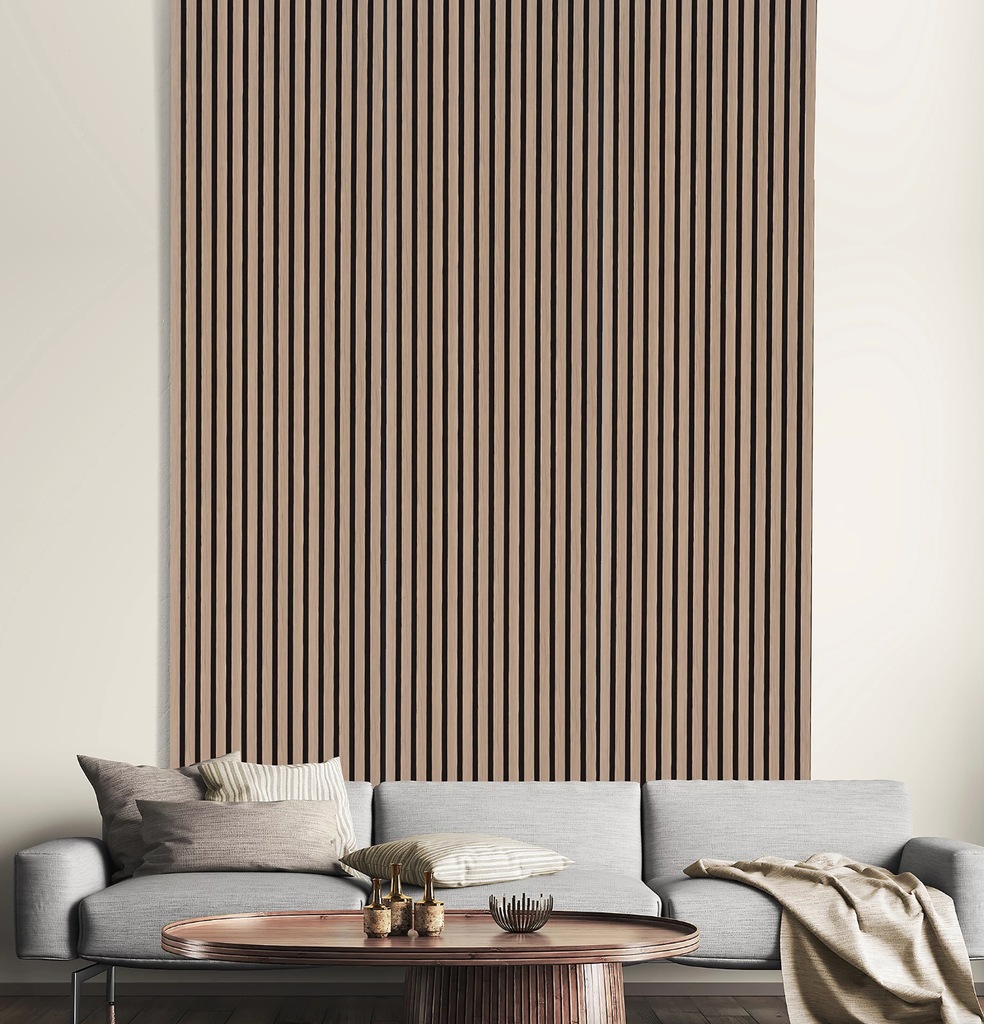
For a sleek, ultra-modern look, opt for slatted (or strip) wall panels. These panels not only bring natural character to a space but are also budget-friendly and easy to install. They can be used to cover an entire wall as a statement feature or placed in smaller sections to add texture to empty areas like corners.
How-to guide
1. Measure your walls
The first step is measuring your wall and marking out any switches. Hold panels up against the wall to work out how much panelling you’ll need, working outwards for symmetry. Place markers on the wall with a pencil for reference - make sure you use a spirit level for accuracy! Don't forget to factor in any plug sockets or switches in your measurements.
2. Cut and paint your panels
Use a handsaw to cut the MDF panel to size based on your measurements and design. For greater accuracy on angles and straighter cuts, consider using a mitre box, which can provide greater control and neater cuts. Always remember to wear the necessary protective gear when cutting MDF!
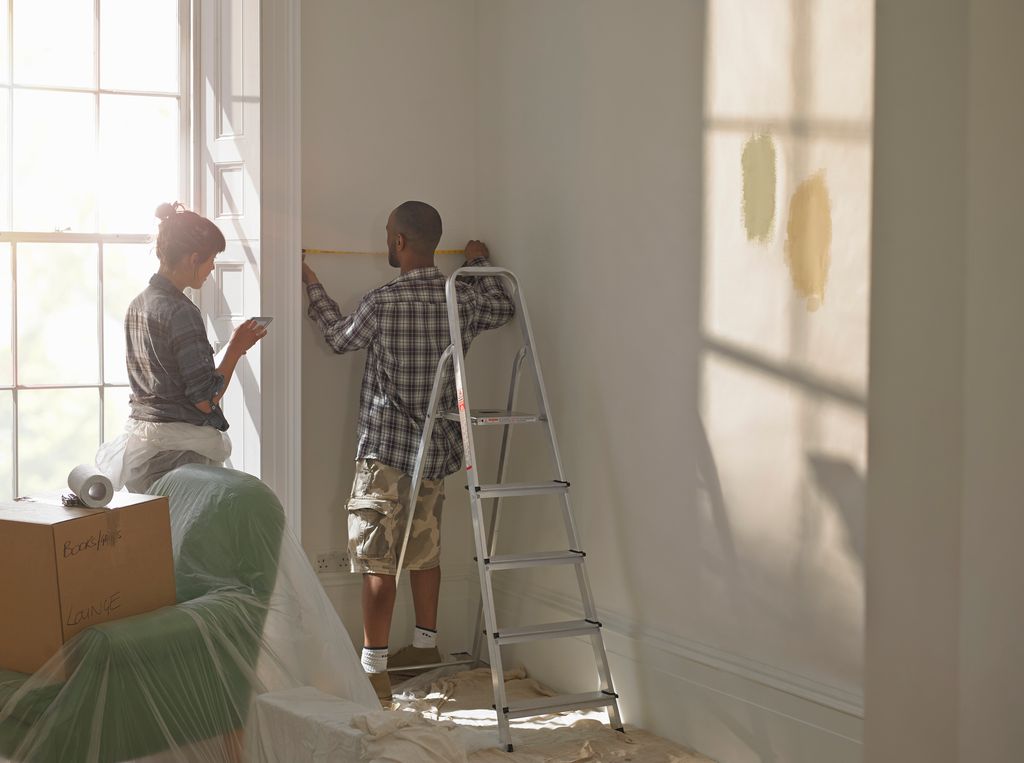 © Getty Images
3. Prepare your walls
You need to prepare the walls behind the panelling before you stick it down. Sanding the walls ensures they are smooth and level before the panelling goes down. You can also paint the wall behind the panelling for a seamless match.
4. Apply panels to the wall
Make sure you place each panel against the wall without glue first to check it fits! Next, apply grab adhesive to the back of the panel. Place the panel in position against the wall and hold down for the recommended amount of time. Start with vertical panels first and then move on to any horizontal panels.
5. Fill any gaps
Fill the joints for a smooth finish by using a decorator's caulk to fill in any gaps or holes, or areas where the panelling may be a few millimetres short. If you are not happy with the original colour, you can paint your panels in your desired colour. Ensure to prime the MDF before painting, otherwise it will draw out the moisture in the paint and leave an uneven finish.